Editable Jelly Bean Bracelets for the win this Easter!
They’re not only adorable, but also fun to make… and they’ll take up some time this weekend!
The best thing? The design possibilities are endless and they are super easy.
TIP: I do suggest the parents string the actual jelly beans. The children can line up their jelly bean designs and those crafty parents can handle the needle and thread.
Check out the instructions below… and have fun!

Supplies:
- Jelly Beans
- Sewing needle and thread
- Optional ribbon
Steps:
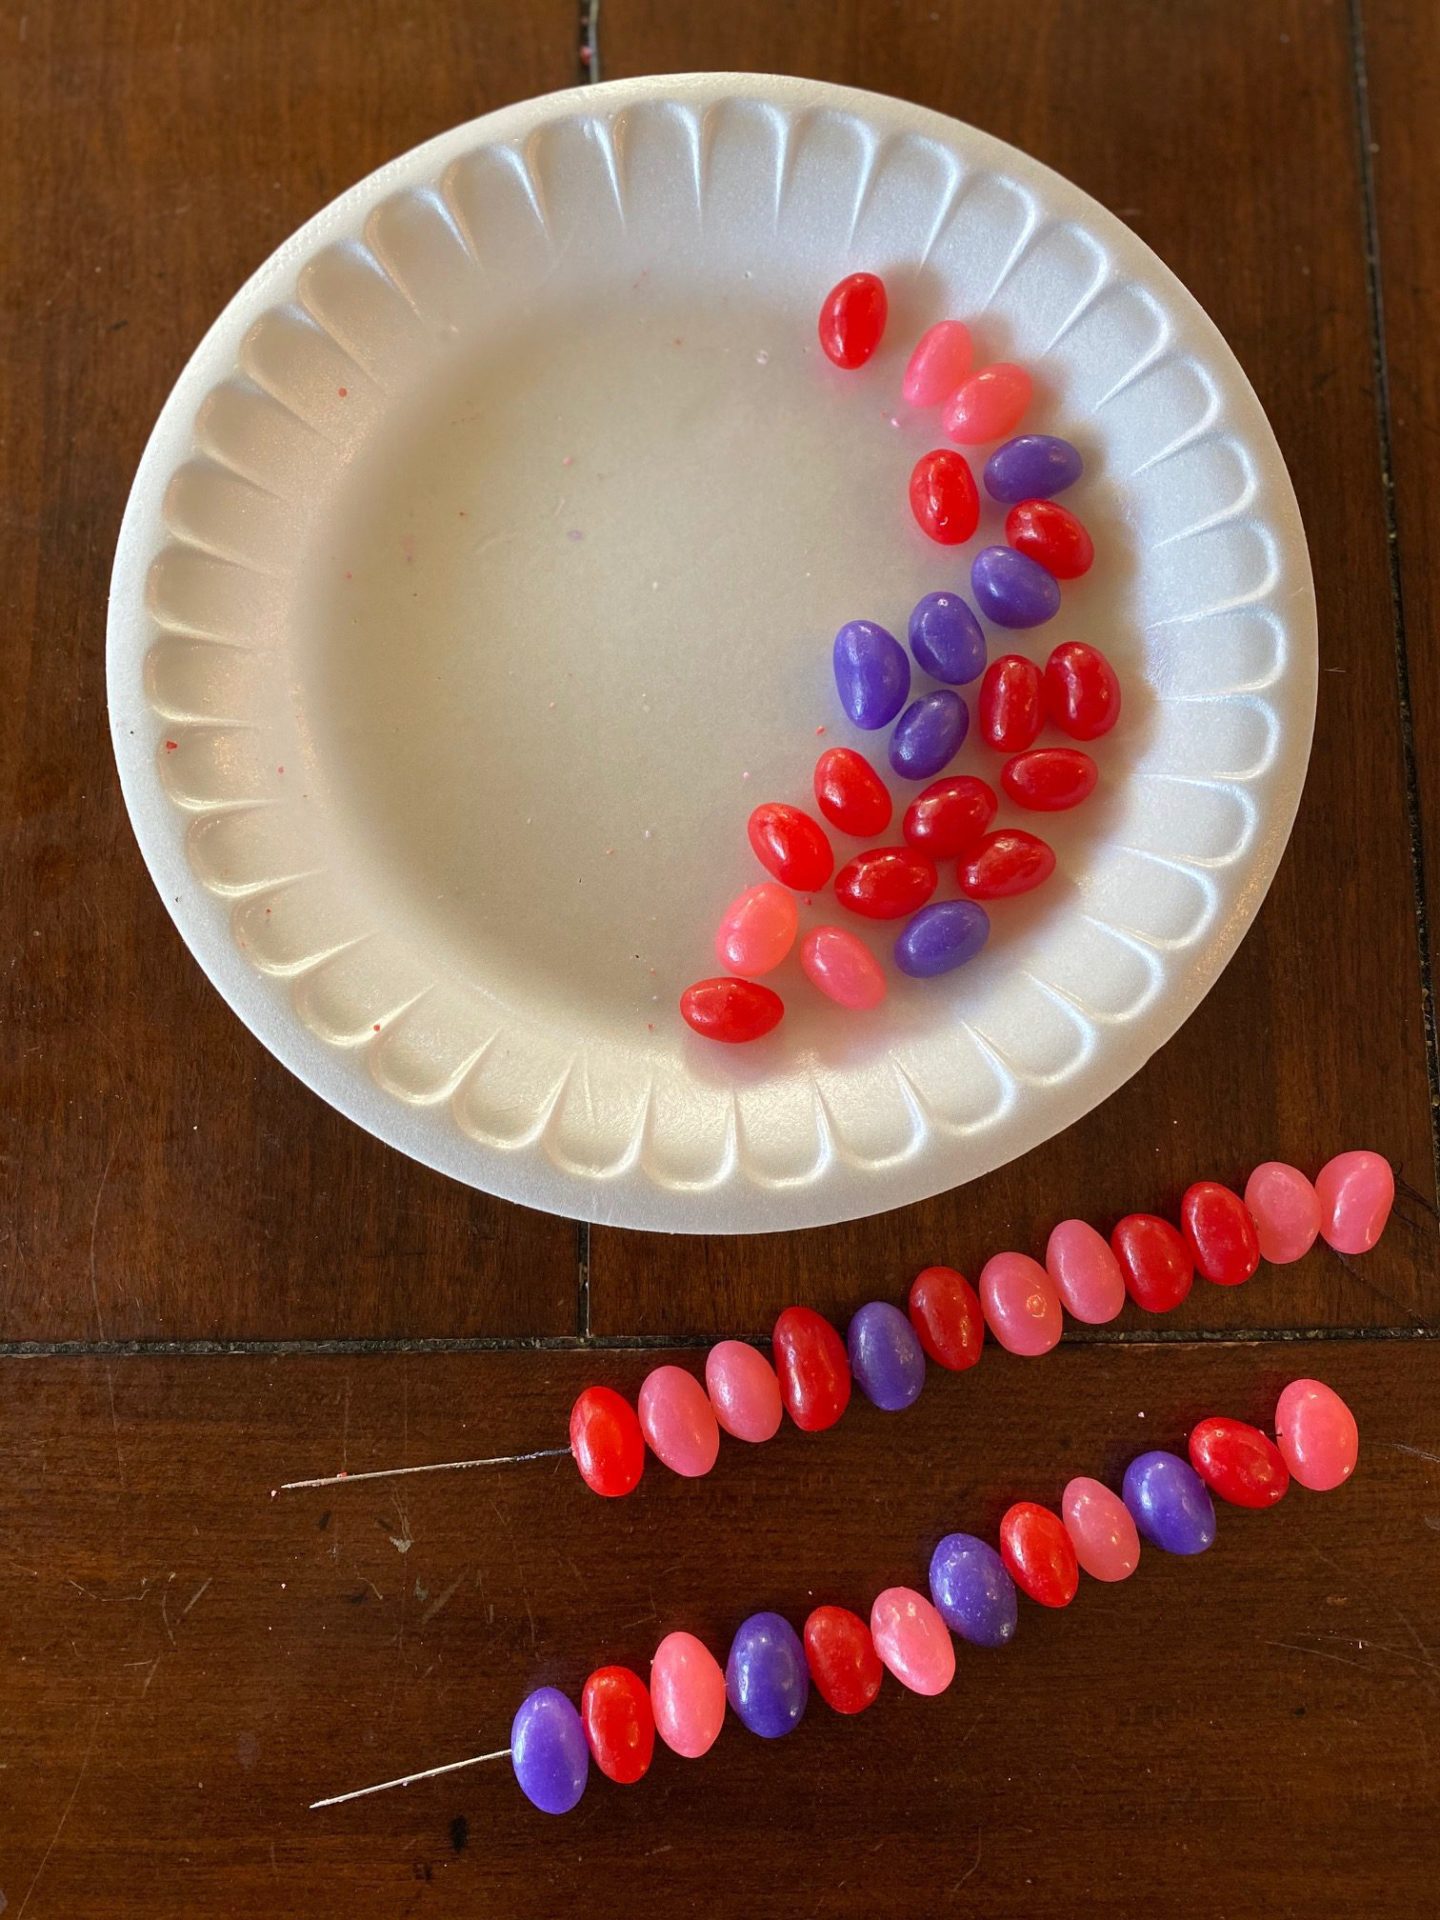
- Set up your needle and thread, tie a knot at the end of the thread
- Place your jelly beans in the order or design you want to string
- Insert the needle into the jelly bean and pull it through to the knotted end of the thread
- Continue stringing the jelly beans until you reach your desired bracelet length. I did measure it around my kid’s wrist a few times.
- Once the desired length is reached, cut off the needle and tie the other end of the bracelet.
- I added a simple pink bow to the end of the bracelet as well.
- Lastly tie on the bracelet onto your child write. Note, they will have to eat it or your will need to cut it off to remove the jelly bean bracelet.

This blog post originally appeared on South Orange County Moms Network